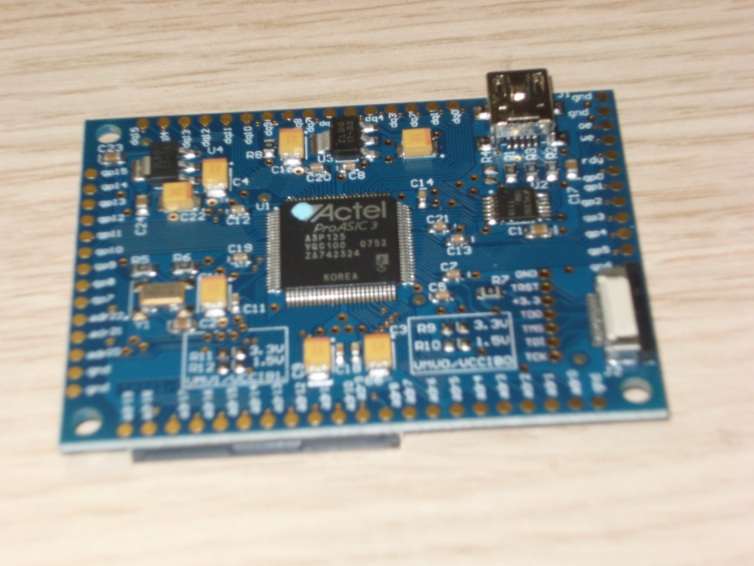
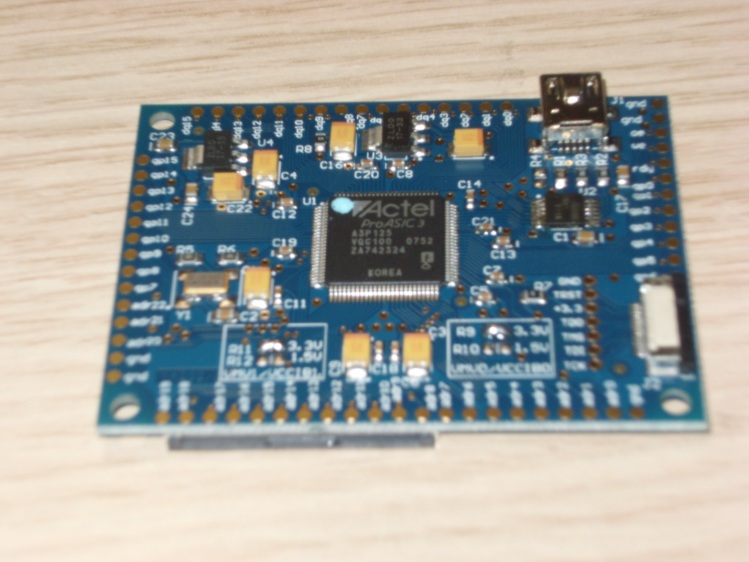
Progskeet 1.0 / 1.1
Progskeet Support[edit | edit source]
ProgSkeet Tutorials[edit | edit source]
Set Up[edit | edit source]
Hardware part[edit | edit source]
We begin by correctly soldering the jumpers on ProgSkeet. R7, R8, R9 and R11 have to be soldered.
Before (in this case R7 and R8 already have a [0] bridge):
After (solderbridge added on R9 and R11 to enable 3.3V):
Software part[edit | edit source]
Once this is done, connect to USB and install the drivers downloaded from the official website.
if you use old Winskeet (WinSkeet40000_111004 or older), you need the driver ´libusb0´
If you use new Winskeet (Winskeet111120 and newer), you select ´WinUSB´ with ZADIG.EXE
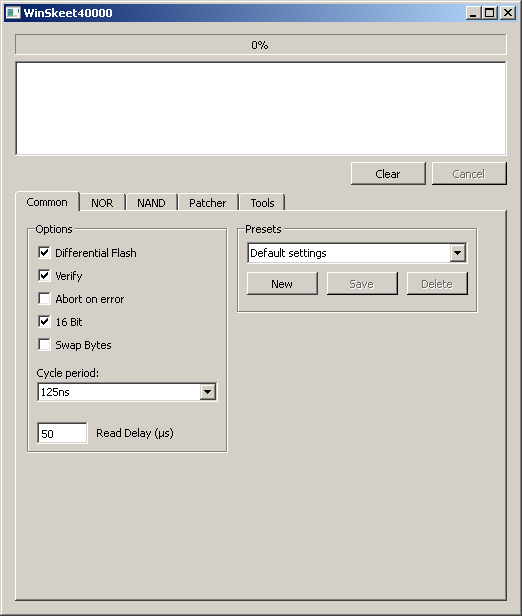
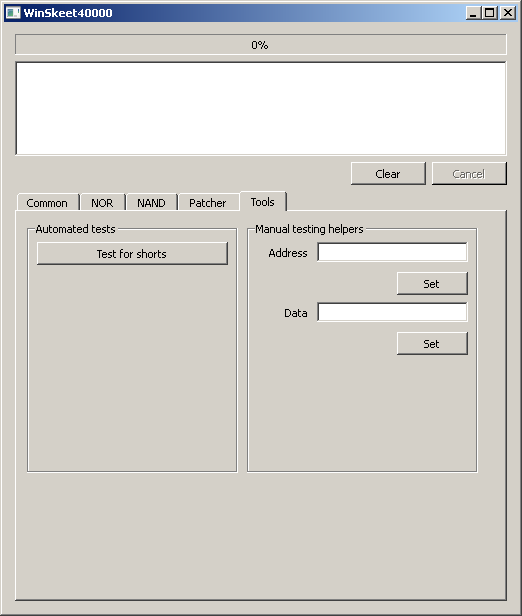
Open WinSkeet.
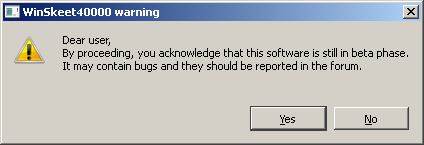
Proceed by clicking “Yes”.
Go to “Tools” tab.
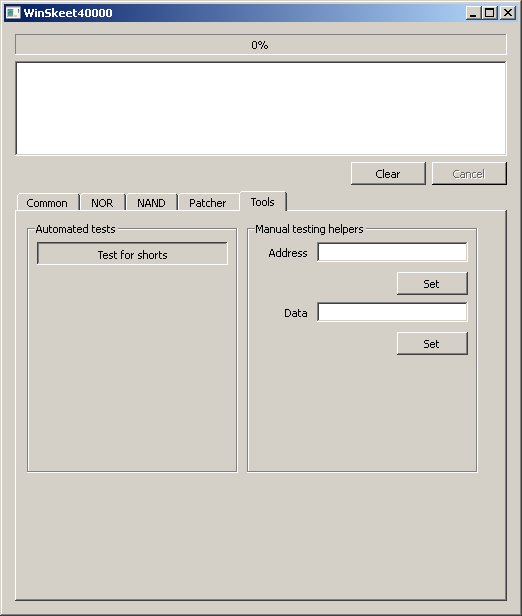
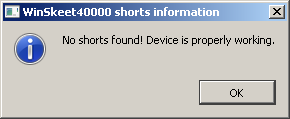
Press “Test Shorts”.
If this fails, please refer to the “Troubleshooting” section.
Programming the Bitstream[edit | edit source]
Which bitstream to use:
| Type | solder | solderless |
|---|---|---|
| NAND | default | SL 111126 |
| NOR | S 111006 | SL 111106 |
Bitstreams[edit | edit source]
- ProgSkeet_Bitstreams_111106.rar (1.63 MB) (NOR solderless and NOR+NAND soldered) Mirror
- ProgSkeet_Bitstreams_111126.rar (1.63 MB) (NAND solderless only) Mirror
Changelog[edit | edit source]
111126[edit | edit source]
- Fixed Solderless NAND
111006[edit | edit source]
- Added solderless bitstreams
- Added solder bistream for dev version of ProgSkeet (green pcb)
- Added pullups on RDY, OE and WE. Resistors probably aren't necessary anymore.
default / never updated[edit | edit source]
Supports NOR soldered + NAND soldered
does not have anything of the above fixes
Updating Progskeet with Injectus in short[edit | edit source]
- connect injectus to progskeet with very short wires (see File:Injectus_jtag_pinout.jpg File:Injectus-jtag-bottompads.png)
- power injectus with usb
- power progskeet with its own usb too (do NOT power the progskeet with the injectus!)
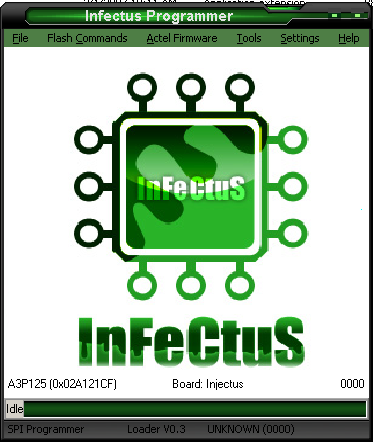
- run injectus programmer software
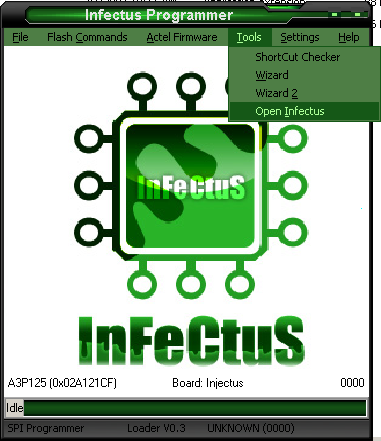
- click tools
- open infectus (at bottom of pulldown)
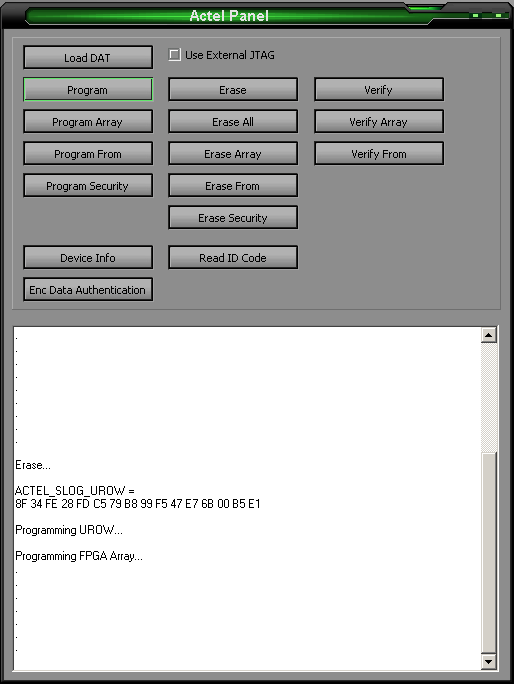
- load dat file
- click program
Note: can be done when already connected to console flash.
Infectus Programmer[edit | edit source]
InfectusProgrammer-0.0.3.9.zip
Longer Picture guide[edit | edit source]
Browse to the directory where you have extracted Infectus Programmer 3.9.9.0
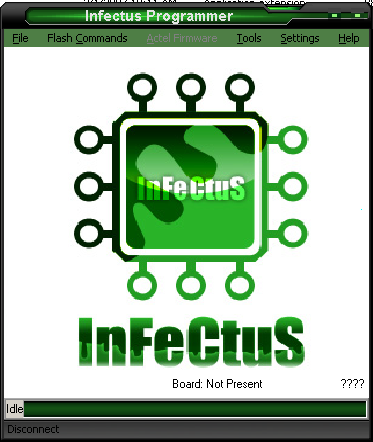
Open “InfectusProgrammer_3.9.9.0.exe”
In the Actel Panel, click “Load DAT”.
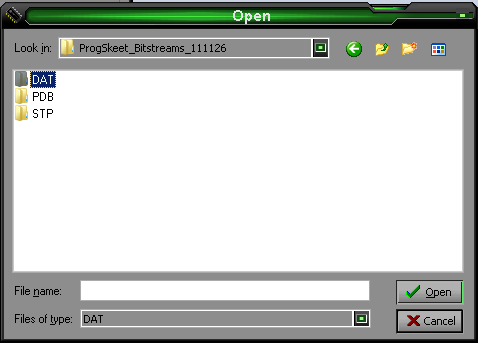
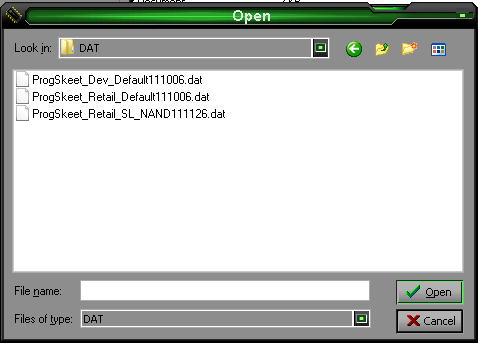
This will spawn the following window.
Proceed by selecting the file for programming.
See also : Update Progskeet with Injectus
Connecting the NAND clip(s)[edit | edit source]
First, make sure you disconnect ProgSkeet from your computer.
Connect Flatcable[edit | edit source]
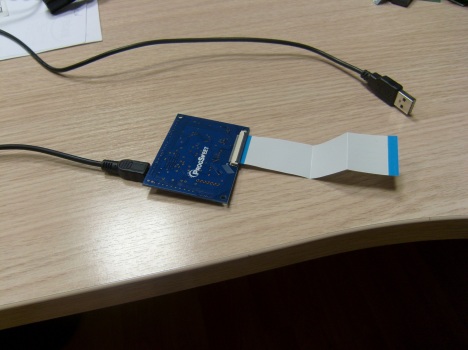
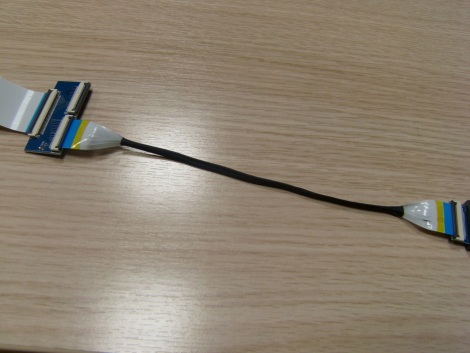
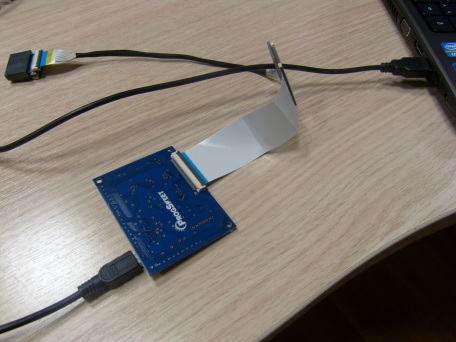
Then, proceed by plugging in the correct 50 pin flat cable.
Caution: Make sure it’s the one with both blue endings on one side. Not one end shiny and the other blue.
Please pay attention to the marking of the first pin.
Not paying attention to this could potentially cause bodily harm,
damage to your ProgSkeet, damage to the device you are currently operating and your computer.
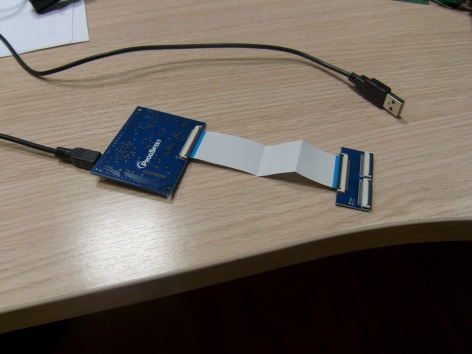
Connect subboard[edit | edit source]
Connect subboard
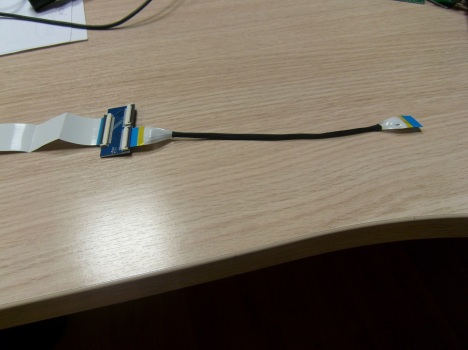
Connect NAND flatcable to subboard[edit | edit source]
Connect NAND flatcable to subboard
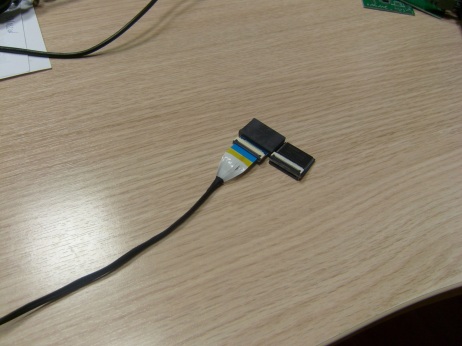
Connect Clip to NAND flatcable[edit | edit source]
Connect Clip to NAND flatcable
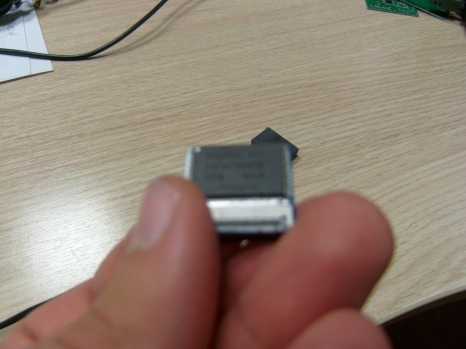
clip + NAND board[edit | edit source]
clip + NAND board (NAND board -> currently no specific use on PS3)
NAND board[edit | edit source]
NAND board (NAND board -> currently no specific use on PS3)
Connect to PC[edit | edit source]
When done, connect to PC
Dumping NAND[edit | edit source]
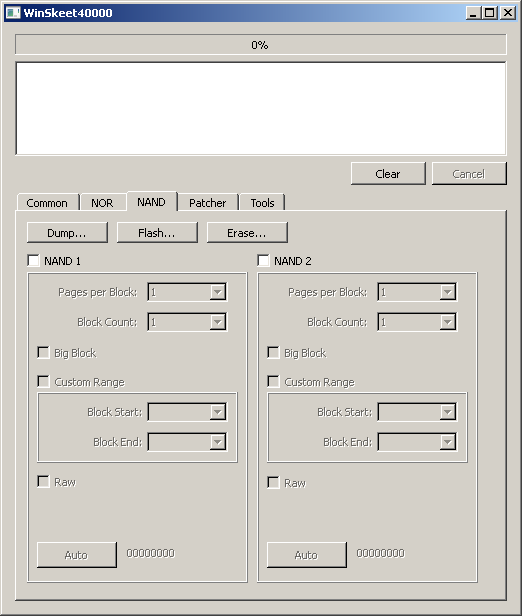
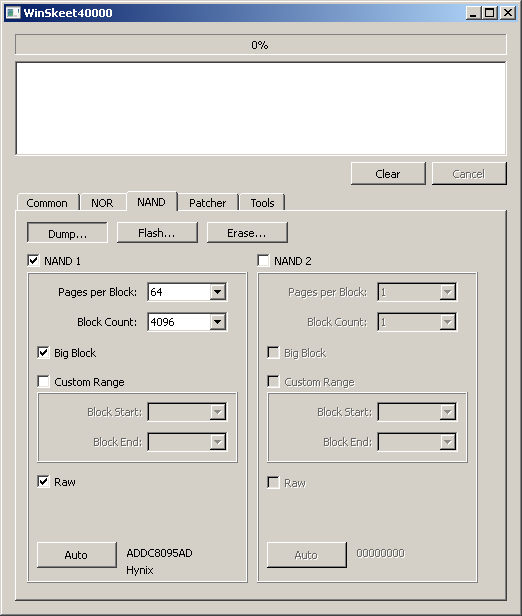
First, open Winskeet and go to the NAND tab.
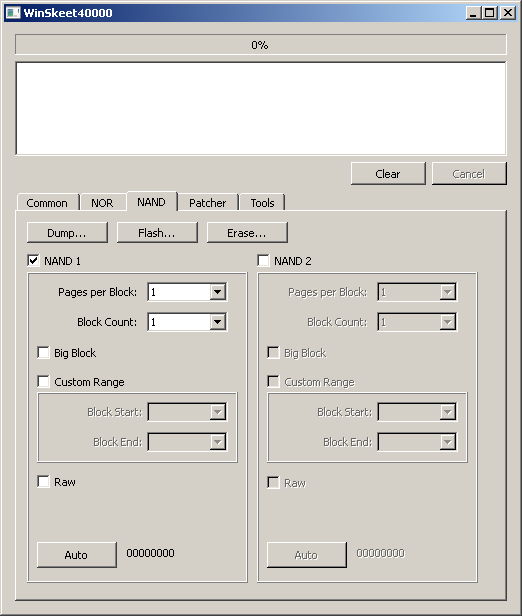
Then, click NAND 1.
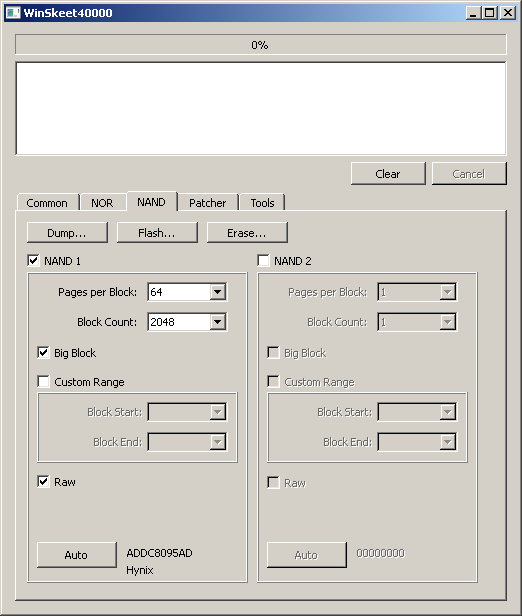
Then click Auto.
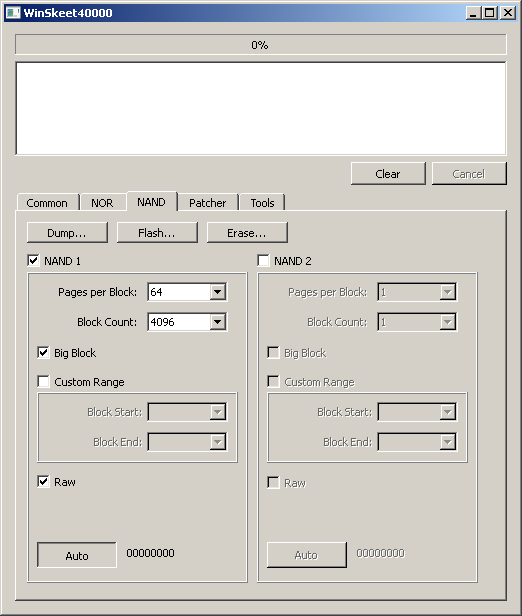
If this shows an inconsistent value or doesn’t correspond to the identification code found in the corresponding datasheet (this is obvious when the manufacturer on the NAND flash does not correspond to the one shown under “Auto”).
In our case, the settings do not correspond to the specifications given by the datasheet. This happens with big block Hynix NAND flash. So we readjust them
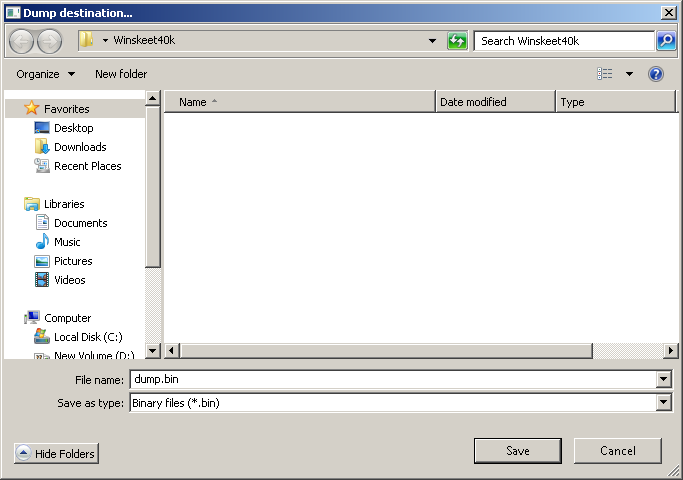
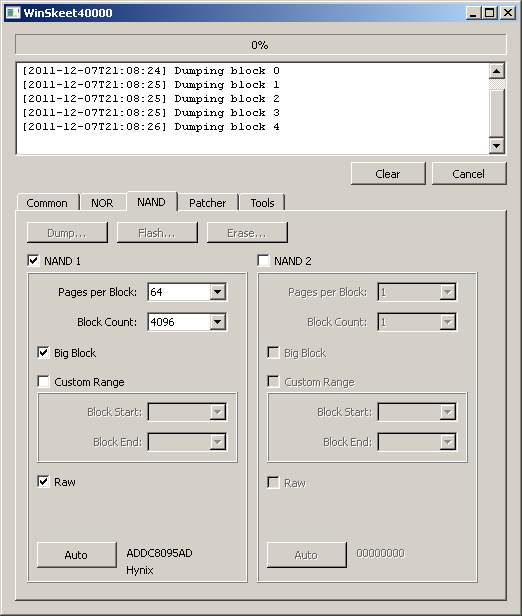
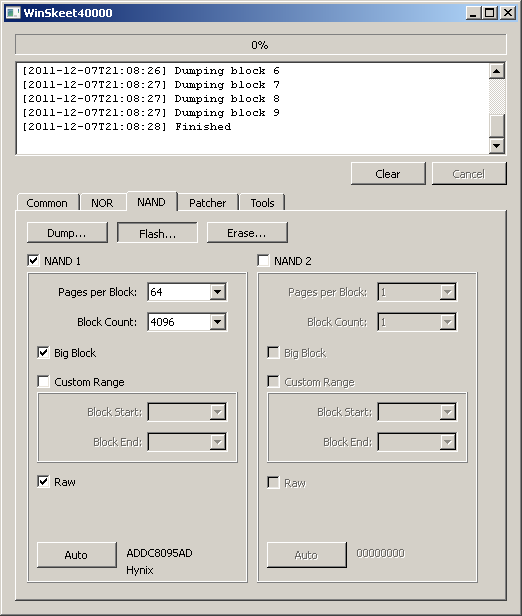
and click “Dump”.
Select destination for saving the dump.
At will, you can also select which range you want to choose using the “Custom Range” option.
Flashing the NAND flash[edit | edit source]
Just like it was done with dumping, you set up the settings and click “Flash” and select the file you want to flash to your NAND flash.
Troubleshooting[edit | edit source]
NAND reads obviously false/inconsistent data[edit | edit source]
Possible causes:
- NAND flash is not correctly connected to ProgSkeet/Clip.
- NAND flash has power supply pins unconnected or power supply to the NAND flash is missing.
Solutions:
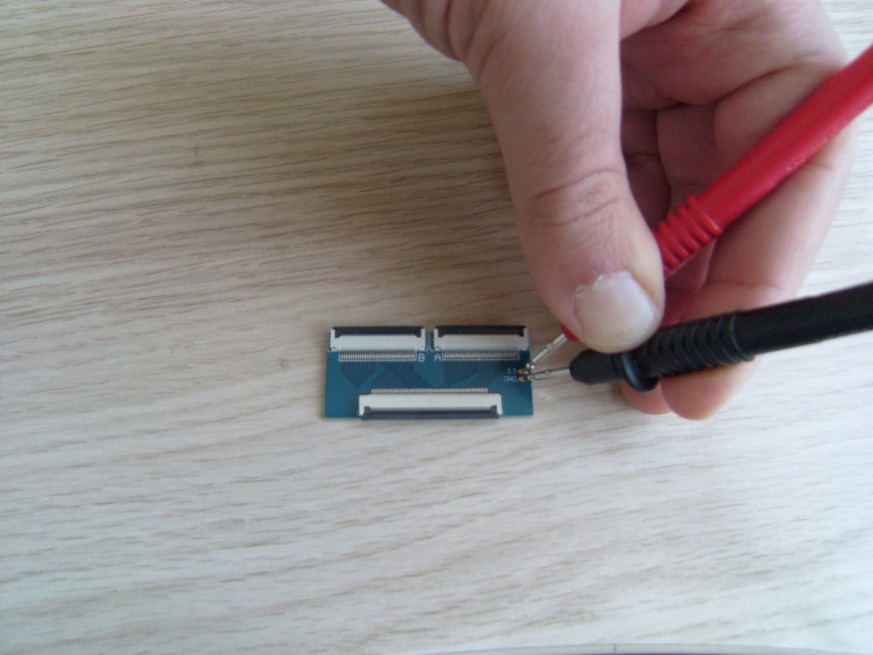
Set your digital multimeter to Volts, Direct Current (V, DC. V with straight line above dotted line) and measure the voltage between 3.3 and GND on the blue adapter pcb (this has to be done when the device is in operation, correctly connected to NAND flash and computer!).
If this doesn’t measure 3.3V, this has to be supplied externally using wires.
make sure you DO NOT power-on the console when using external PSU
Use “Auto” to read the identification code of the NAND flash in the programming software. If the result is 0000000000 or FFFFFFFFFF or inconsistent, the NAND flash is not correctly connected to ProgSkeet/Clip.
Test shorts gives positives on shortcut detection[edit | edit source]
Set your digital multimeter to “Ohm” or “Shortcut detection” and probe the pins listed in the messagebox against each other. If you find no shorts, you have not correctly followed instructions which clearly state “ONLY TEST PROGSKEET WHEN IT IS NOT CONNECTED TO ANYTHING BESIDE USB”.
Dumping either NOR or NAND freezes[edit | edit source]
Possible causes:
- NAND/NOR is not correctly connected to ProgSkeet/Clip.
- External interferences
Solutions:
- Make sure all connections are correct and there are no shortcuts.
- Uncheck “verify” in the “common” tab and make several consecutive dumps. If those do not compare correctly, your connections are incorrectly soldered/attached.
- Increase cycle time in the common tab (maximum is 333ns).
- Shorten wire length.
Soldering troubleshooting[edit | edit source]
Please always make sure that you use sufficient amounts of flux and that you remove the old tin before trying to solder again. After removing the old tin, reapply flux in decent amounts to make sure your soldering is good. Another way to do this is melt a lot of tin over the pcb using you soldering iron in quick and swift movements without excessive pressure. Clean the tip of your soldering iron after every pass to ensure maximum reliability, as different mixtures of tin (Sn) cause oxidation, especially when mixing lead-free and leaded tin. I recommend using 63 Sn/37 Pb tin for soldering, as lead-free and high contents of lead will lead to subpar soldering.
| ||||||||||||||||||||||||||||||||||||||
